Best Way To Remove Hardwood Floors (Step-by-Step Guide)💠
Last month, one of my friends moved to a new house. He didn’t like the existing floors and planned to replace them. He was confused about the best way to remove hardwood floors, followed by calling me for help. Being an expert, I have suggested to him the best technique that saved him much time and money. If you are also struggling to find the right method, Worry not. This article is specially for you.
The best way to remove hardwood floors is to start at one corner, use a pry bar to lift and remove each board carefully, and address adhesive residue if necessary. It’s important to follow proper techniques and use the right tools for removing hardwood floors successfully.
Whether you’re planning a renovation or replacing damaged flooring, this guide will equip you with the best hardwood flooring removal methods, providing step-by-step instructions, expert tips, and valuable insights.
When Should I Remove Hardwood Floors?
Most of the time, people usually ask the same question, “When and why should I remove wood flooring?” The answer lies in the list of following important reasons:
Renovation Or Remodeling
When undergoing a renovation or remodeling project, removing hardwood flooring allows for a fresh start and the opportunity to update the look and feel of the space.
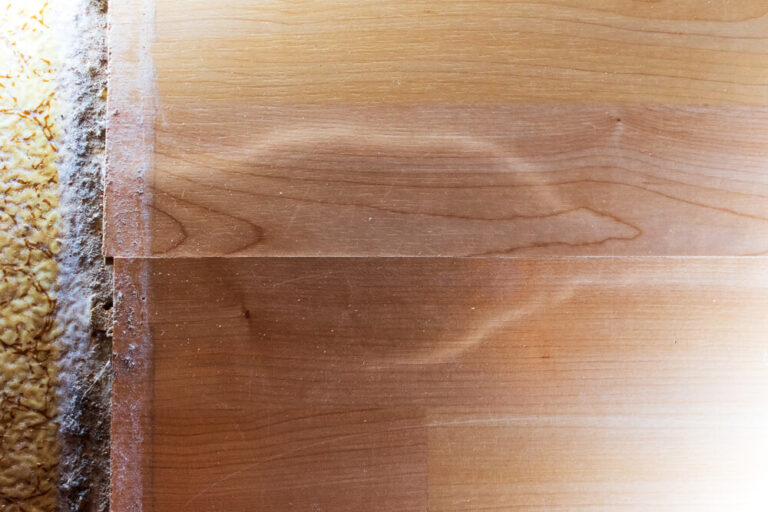
Damage Or Wear
If the hardwood flooring has extensive damage, such as deep scratches, stains, or warping, removing it becomes necessary to replace it with new, pristine flooring.
Change In Style Or Design Preference
If the current hardwood flooring no longer matches the desired style or design aesthetic, removing it allows for the installation of a different type of flooring that better suits the desired look by changing the color of wooden floors.
Subfloor Repairs
Sometimes, the subfloor beneath the hardwood flooring may require repairs, such as fixing structural issues, addressing water damage, or resolving pest infestation. In such cases, removing the hardwood flooring becomes necessary to access and address these underlying problems.
Upgrading To A Higher-Quality Flooring
Removing hardwood flooring may be desirable when upgrading to a higher-quality flooring material, such as engineered hardwood, luxury vinyl planks, or tile, which offers improved durability, moisture resistance, or other desired features.
Installing Underfloor Heating Systems
If you want to install underlayment, heating systems, removing the hardwood flooring allows for the proper installation and integration of the heating elements into the subfloor.
Health Concerns
In certain situations, hardwood flooring may harbor mold, mildew, or allergens, posing health risks to individuals with allergies or respiratory conditions. Removing the hardwood flooring can help eliminate these concerns and provide a healthier living environment.
It Is important to assess the specific needs and goals of your project to determine whether removing the hardwood flooring is necessary or beneficial.
How To Remove Hardwood Floors Without Any Damage?
Follow the steps given below to ensure easy and safe wooden flooring removal:
Prepare The Work Area
Start by specifying or mapping out the area from where you want to remove hardwood floors.It is suggested to use taps for precise cutting and prying.

Remove the furniture, rugs, and other obstacles to ensure easy removal. If this is not possible, cover everything with tarp to prevent them from dust and debris. Fix your tarps with painter’s or masking tape that can be removed easily when required.
Ensure proper ventilation by opening windows or using fans. Put on safety gear, including gloves, goggles, long sleeves clothing, and a dust mask.
Evaluate The Type Of Hardwood Flooring
Determine whether you have floating, glued, or nailed hardwood floors. This information will help you decide on the appropriate removal method.
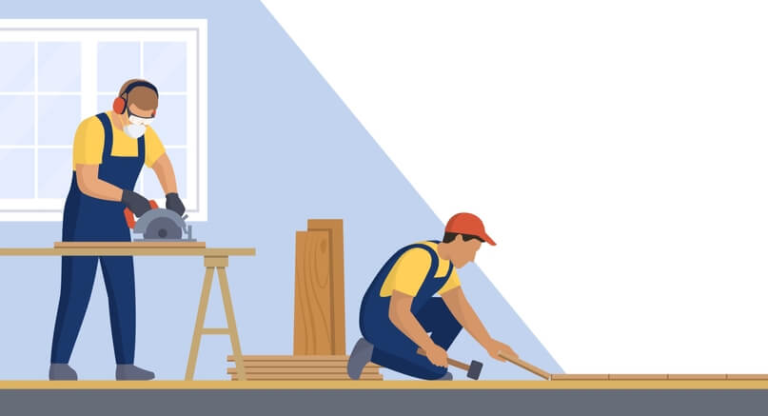
Gather The Necessary Hardwood Floor Removal Tools
Depending on the removal method, gather all required tools to remove hardwood floors. These include:
- Pry bar: Used to lift and pry up hardwood floorboards.
- Hammer: Used to remove nails from the subfloor.
- Pliers: Helpful for gripping and removing nails or staples.
- Power tools to remove hardwood flooring: Depending on the method chosen, power tools such as a reciprocating saw, circular saw, or oscillating tool with a cutting blade can speed up the removal process.
- Floor scraper: Used to scrape off adhesive residue or stubborn debris.
- Putty knife: Useful for removing adhesive or scraping off stubborn materials.
- Safety gear: Essential for protecting yourself during the removal process, including gloves, safety goggles, and a dust mask.
- Trash bags or containers: To collect and dispose of the removed hardwood flooring.
- Adhesive remover: If the hardwood floor was glued down, adhesive remover can help soften and remove the adhesive residue.
- Mop or damp cloth: Used to clean the subfloor after the removal process.
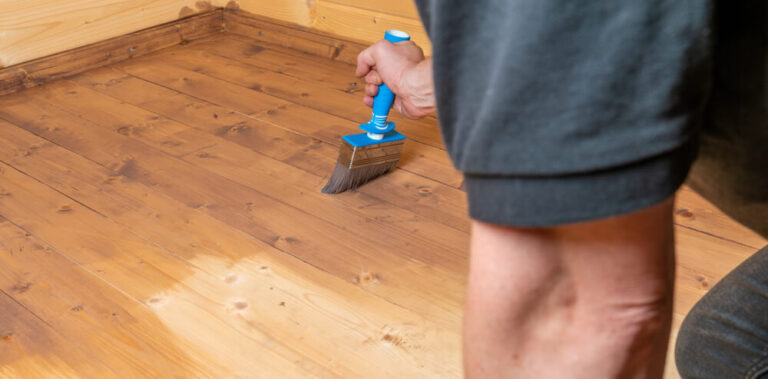
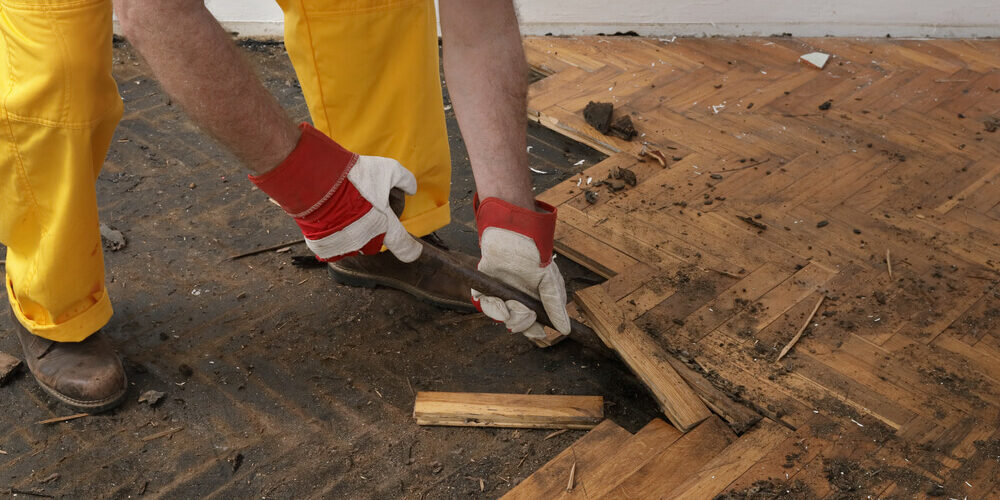
Begin Removal
Start at one corner of the room and carefully saw the hardwood floors. Run the saw in a straight line and move in the opposite direction when one line is completed.
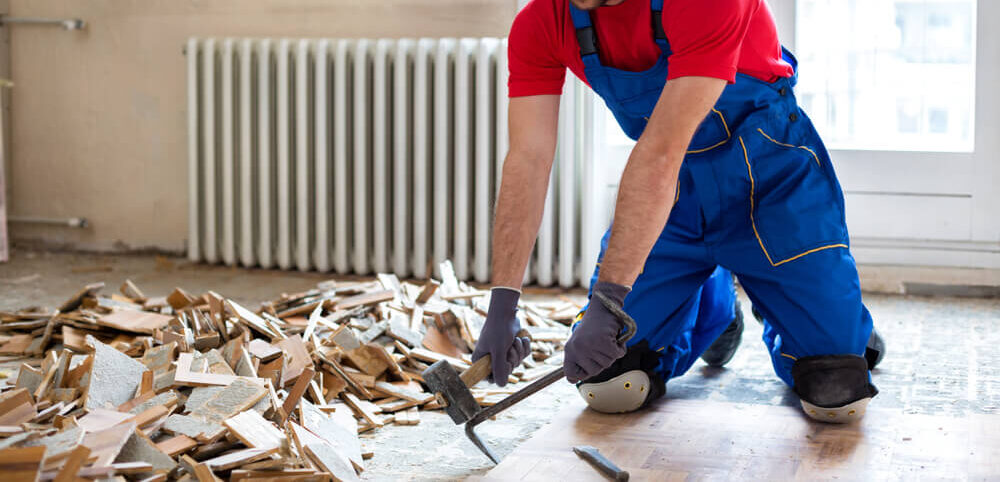
Pry up a section of the hardwood flooring using a pry bar. Work your way along the boards by gently lifting and removing each one.
If the floor is nailed, use a hammer and pry bar to remove the nails from the subfloor.
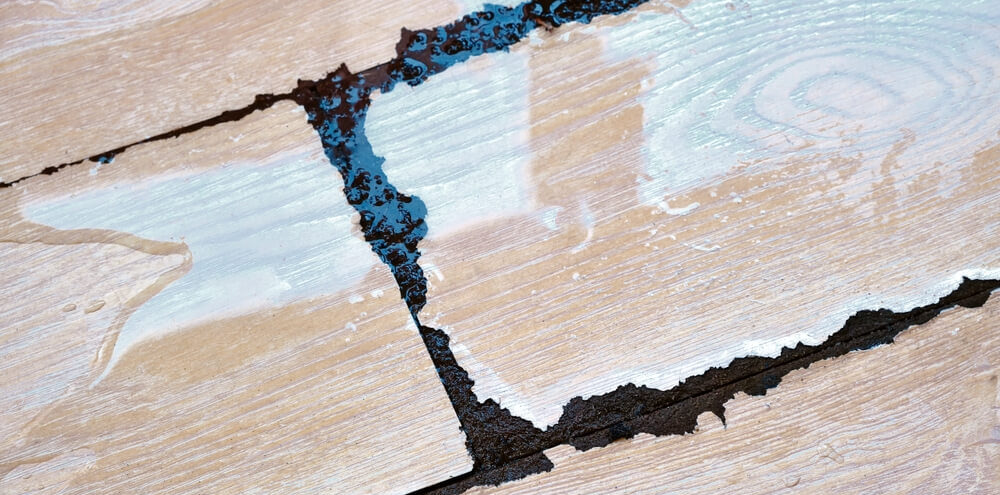
Removing glued down hardwood flooring can be a tricky job. You need to remove adhesive residue. Use a floor scraper or putty knife to scrape off the adhesive in small sections. Apply adhesive remover or a mixture of warm water and vinegar to soften stubborn adhesive. Pry them up and remove the flooring. Be careful while cutting hardwood floors near walls.
Dispose Of The Removed Flooring
Place the removed hardwood flooring in trash bags or containers for disposal. Check local regulations for proper disposal methods, as some areas may require specific disposal procedures. Discard all the used nail and staple pins directly into the bin.
Assess The Subfloor Condition
Once all the hardwood flooring is removed, thoroughly clean the subfloor. Remove any remaining adhesive, debris, or dust to create a smooth surface for the new flooring.
Inspect the subfloor for any damage or necessary repairs. Address any issues before installing new flooring to ensure a solid foundation.
Remember, each hardwood floor removal project may have specific considerations based on the type of flooring and installation method. It is essential to adapt these steps as needed for your specific situation. Prioritize safety throughout the process.
FAQs

How Hard Is It To Remove Hardwood Floors?
Removing hardwood floors can be challenging depending on factors like installation method and subfloor condition. With the right tools, techniques, and patience, it is manageable for DIYers. However, complex installations or extensive adhesive may require professional assistance for a smoother removal process.
Is It Better To Strip Or Sand Hardwood Floors?
It depends on the condition of the hardwood floors. Stripping is recommended for removing old finishes and stains, while sanding is suitable for leveling uneven surfaces or removing deeper scratches. Consulting a professional can help determine the best approach based on the specific needs of the floors.
Should I Rip Up Hardwood Floors?
Deciding whether to rip up hardwood floors depends on various factors like their condition, desired changes, or personal preferences. If the floors are damaged, outdated, or don’t align with your vision, ripping them up might be a viable option to replace or upgrade with a new flooring material.
How Long Does It Take To Remove Hardwood Floors?
The time required to remove hardwood floors varies based on factors like the size of the area, the type of installation, and the removal method. Generally, it can take anywhere from a few hours to several days to complete the removal process, depending on the complexity and scope of the project.
Can I Replace Hardwood Floors Myself?
Yes, it is possible to replace hardwood floors yourself if you have the necessary skills, tools, and knowledge. However, it can be a challenging task that requires precision and attention to detail. It’s recommended to assess your abilities and consider hiring professionals for complex installations or if you’re unsure about the process.
How to remove tongue and groove hardwood flooring?
To remove hardwood tongue and groove flooring, start at one end and gently pry up each board using a pry bar or hammer and chisel. Work systematically, ensuring to remove any nails or staples. Take care not to damage the neighboring boards or the subfloor during the removal process.
What Tool Removes Tongue And Groove?
A circular saw or a reciprocating saw with a fine-toothed blade is the best tool to remove tongue and groove flooring. By carefully cutting along the length of the groove, the boards can be separated and removed. Pry bars and chisels may also be helpful in lifting and removing the individual boards.
What Adhesive Remover Is Safe For Hardwood Floors?
When it comes to adhesive remover for hardwood floors, it’s essential to choose a product specifically designed for hardwood. Citrus-based adhesive removers are often safe options as they are gentle and effective. Always follow the manufacturer’s instructions and test the remover on a small, inconspicuous area before full application.
How Much Does It Cost To Remove Hardwood Floors?
Hardwood floor removal cost varies depending on factors such as the size of the area, complexity of the project, and location. On average, you can expect to pay between $1.50 to $3.50 per square foot for professional removal services. DIY removal typically incurs minimal costs, limited to tools and disposal expenses. varies depending on factors such as the size of the area, complexity of the project, and location. On average, you can expect to pay between $1.50 to $3.50 per square foot for professional removal services. DIY removal typically incurs minimal costs, limited to tools and disposal expenses.
Conclusion
Removing hardwood floors requires careful planning, the right tools, and proper techniques. By following the methods outlined in this comprehensive guide, you can confidently remove hardwood floors, whether you opt for traditional hand tools, power tools, heat and moisture, or professional removal services. Remember to prioritize safety, take necessary precautions, and dispose of the flooring responsibly. With this knowledge in hand, you’re ready to tackle your hardwood floor removal project successfully.